In this blog post I will discuss how using NetApp Virtual Storage Console the vSphere Administrators can perform various NetApp Storage management tasks from vCenter interface. I will cover installation of VSC, followed by Registration of VSC and basic Setup.
NetApp Virtual Storage Console is a plugin for vCenter which provides a single user interface and end-to-end management for the following tasks performed in the Infrastructure:
- Discovery of new and existing NetApp Storage arrays, aggregates, volumes and LUNs.
- Provisioning – Creating new VMFS/NFS volumes on NetApp Storage and mounting them to the ESXi hosts.
- Capacity Management – Monitor the capacity of the VMFS/NFS datastores at all levels i.e. Aggregate, Volume, LUN & Datastore.
- Backup & Recovery – Configure backup & recovery for entire datastore, virtual machine, VMDK or single files.
- Optimization – Identify misaligned VMs or Datastores and rectify them.
- Space Reclamation for virtual machines.
With VSC the gap between Storage & vSphere administrators can be bridged resulting in faster provisioning and other management tasks. VSC also has built in optimization settings for ESXi hosts which can applied to the ESXi hosts to reduce issues and support calls.
Install NetApp Virtual Storage Console (VSC)
Download the latest version of VSC from NetApp Support Site. Note that you need to have valid credentials to download this software. For this installation I chose x64 bit version of VSC and installed on a Windows 2008 R2 VM
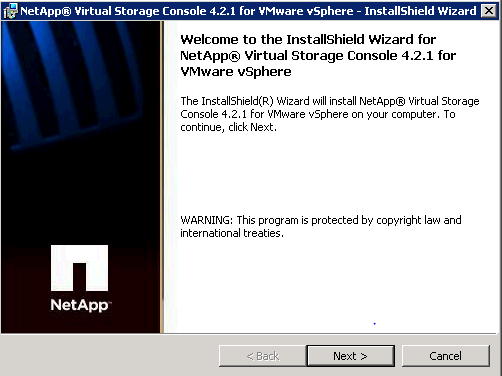
Launch the installer to start the installation of VSC and click Next to continue
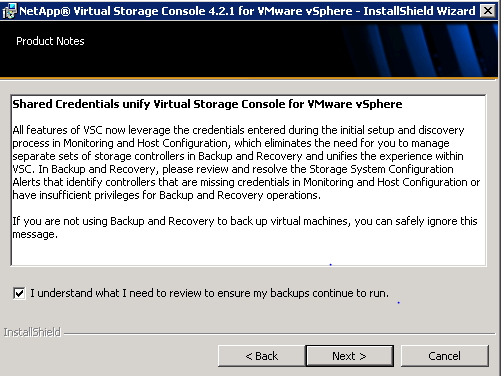
Read about the credentials required when using Backup and Recovery in VSC and click I understand to acknowledge and click Next to continue.
Select the capabilities of VSC and click Next to continue

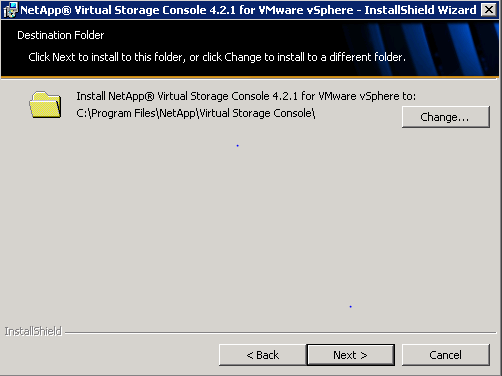
Change the destination folder for VSC installation if required and click Next to continue.
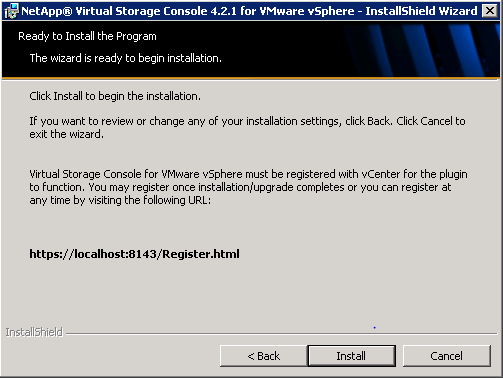
Click Install to start the installation. Note the URL provided to register VSC, this has to be done after the installation is complete.
Register NetApp VSC with VMware vCenter
Once the installation is complete a web browser would be launched to https://localhost:8143/Register.html where the following details would be required to complete the registration of VSC with vCenter.
- Plugin service information
- Hostname or IP Address: IP Address or Hostname of the system where VSC was installed.
- vCenter Server Information
- Host name or IP Address: IP or FQDN of the vCenter Server
- Port: 443
- User name: Use administrator@vsphere.local if you want to use the default SSO user account. If you are using vCenter Linux Appliance use root username. If you have created an Identity source for the domain user account and also set it as default then use the DOMAIN/Username.
- User Password: Enter the password for the above vCenter administrator username.

Once the Registration is complete start a new vSphere Client session to vCenter. Navigate to Plug-ins & Manage-Plugins to confirm that Virtual Storage Console plugin is enabled.
Discover NetApp Storage in VSC
Use VSC to discover any existing NetApp storage array. Once the Array is discovered you would be able to perform various storage management tasks using VSC.
To launch VSC, connect to the vCenter server using the vSphere client and navigate to Home > Solutions & Applications > click on NetApp logo
Navigate to Monitoring & Host Configuration and click on Overview > click Add to add NetApp 7 Mode or Clustered Data ONTAP storage.
Enter the following information to add the Controller
- Target Hostname: IP or FQDN of the 7 Mode Controller or Cluster IP in case of Clustered Data ONTAP
- Target Port: 443
- User name Password: Credentials required to connect to NetApp 7 Mode Controller or Cluster IP in case of Clustered Data ONTAP.
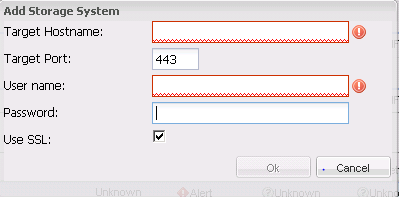
Click Ok to add the controller.
Once the controllers are added to VSC the discovered information (IP Address, Version, Free capacity, VAAI & Supported protocols) would be displayed.
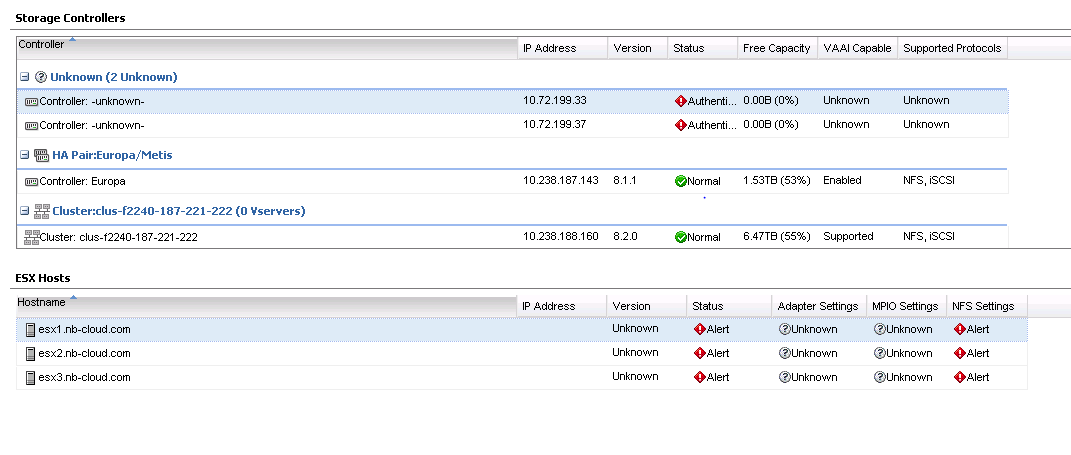
It’s recommended that you apply NetApp best practices to the ESXi hosts for Adapter, MPIO & NFS Settings. To do this, right click on the ESXi host and click on Set Recommended Values

To understand the details about the settings, click on Show Details.
This completes installation and basic setup of NetApp Virtual Storage Console. You can now use VSC to also manage your NetApp Storage using vCenter Server.
I started using virtual data room, as Ideals for my documents and it is even better, that any other soft, as I think. Of course, it is only my opinion, but I think you should also try it and write your idea.
ReplyDeleteI was surfing net and fortunately came across this site and found very interesting stuff here. Its really fun to read. I enjoyed a lot. Thanks for sharing this wonderful information. Wondering where to go in 2020? Things to do has ranked as the best include a remote, idyllic island and the design capital.
ReplyDelete