For the next few days I would be working on automating vSphere & NetApp Infrastructure solutions using the following products:
- NetApp OnCommand Unified Manager 6.0
- NetApp OnCommand Workflow Automation 2.1
- VMware vCloud Automation Center 6.0
It has been a great learning experience so far. I have understood the capabilities of the different products and how a single workflow can be created at the Compute > Storage > vSphere layers.
In this blog post I am going to share the instructions to setup OnCommand Unified Manager 6.0 (UM 6.0) which will be used in the automation solution. UM 6.0 provides a dashboard where you can view the health of the NetApp storage and can also be integrated with NetApp Workflow Automation to automate various tasks.
Setup UM 6.0
Download UM 6.0 from OnCommand Unified Manager for Clustered Data ONTAP for VMware vSphere from the Support Site. Note that you need to have valid credentials to download this software.
UM 6.0 is available for download as OVA or ISO, considering the ease of deployment I chose to download OnCommandUnifiedManager-6.0.ova.
Once the file is downloaded, deploy the OVA using the vSphere Client and power on the VM. Wait for the boot process to complete, it may take few minutes.

Once the UM 6.0 VM boots, select the time zone and provide the network details for e.g. IP address, Subnet Mask, Gateway, Hostname, DNS Server etc.

Let UM initialize and as per the screenshot this takes some time so grab a cup of coffee or do something else so that you don’t have to stare at the screen and wait for it to complete.

You would be prompted to enter the credentials for Maintenance User. Note that this user account would be used while logging into UM 6.0 using the Web browser to configure it.
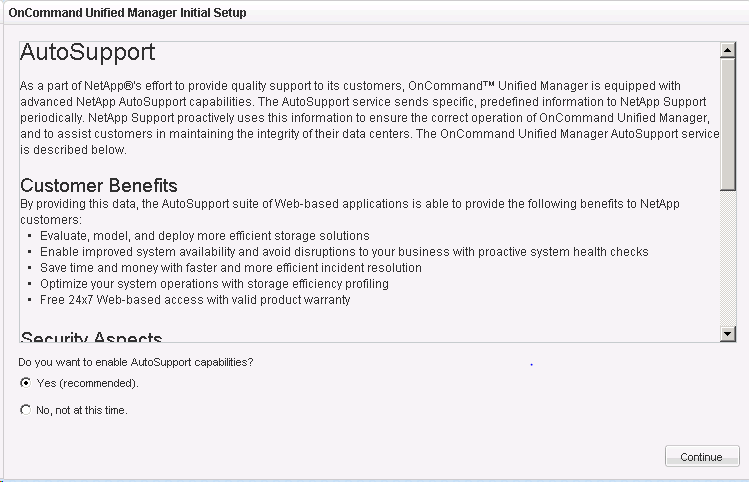
Once the setup is complete, login to UM 6.0 by connecting to https://IP OR FQDN of UM/ using a supported browser. Enter the maintenance user account credentials and enable Auto Support, it’s recommended.
You will now be prompted to add a cluster.

Enter the credentials to add the cluster
It may take few minutes before the cluster is detected.

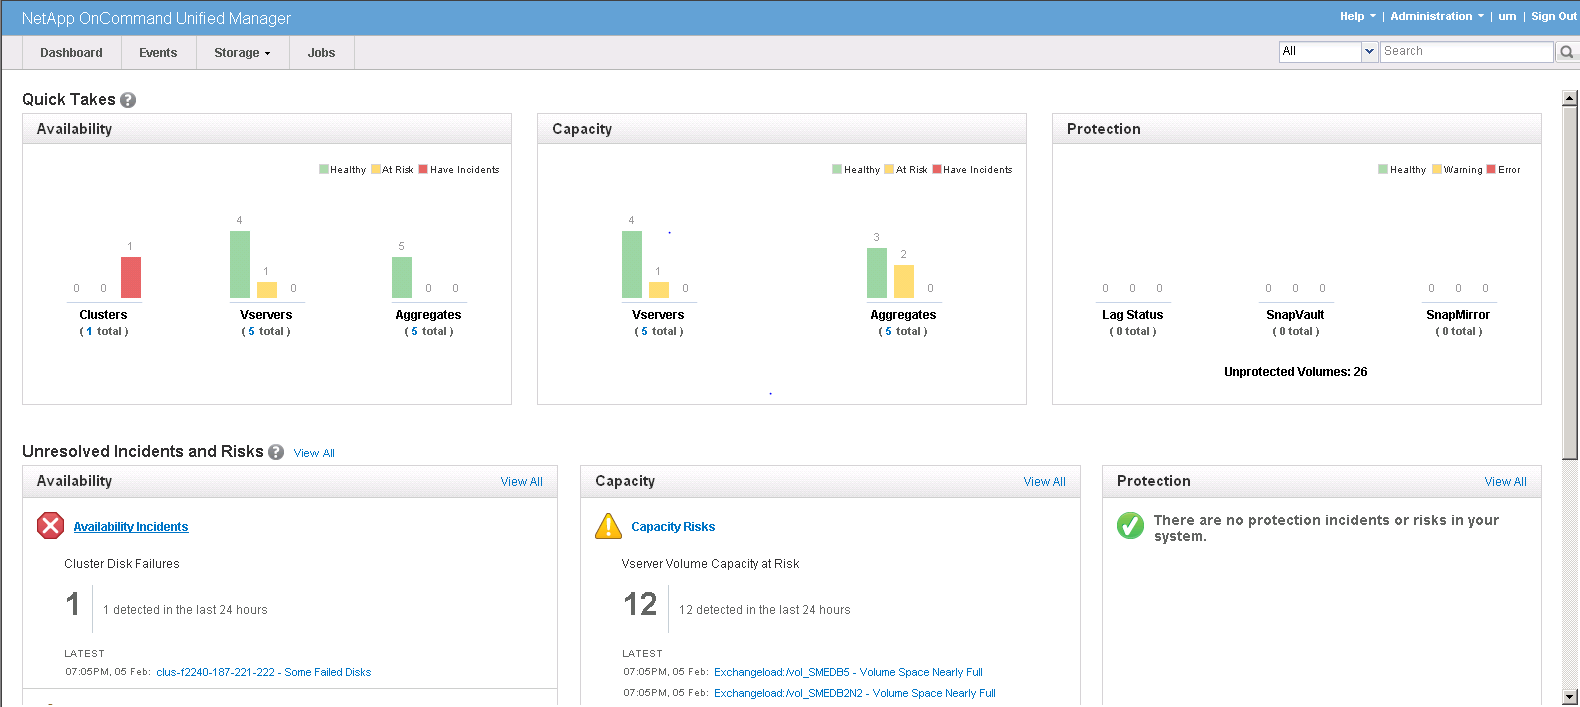
After waiting for few minutes, in my case around 5-7 minutes the cluster information was displayed on the dashboard. You can view the health of your cluster on this dashboard. UM 6.0 will also warn you about the potential issues so that they can be fixed on time.
Setup Active Directory authentication for UM 6.0
In this section, I will explain the steps required to configure AD authentication for UM 6.0.
Click on Enable Remote Authentication.
Enter the following details:
- Authentication Service: Active Directory – I chose this option because I wanted to use the AD installed on Windows 2008 R2.
- Administrator Name: Here enter the administrator in the DOMAIN\ADMINISTRATOR format.
- Password: Enter the domain administrator password
- Base Distinguished Name: CN=Users,DC=nb-cloud,DC=com – I chose this location where all the users are stored, nothing fancy.
- Add the Active Directory Server by clicking on Add in Servers.
- To confirm the settings click on Test and try to login using one of the user accounts in the domain. NOTE: During this Test use only ADMINISTRATOR and DON’T use DOMAIN\ADMINISTRATOR.

Add the administrator user account as OnCommand Administrator by navigating to Administration > Manage Users > Add

Confirm that you can login using the Administrator account

This completes the setup of UM 6.0. Stay tuned and I will share a blog post for setting up WFA 2.1 shortly.